
Follow these simple steps to download Ever Accountable onto your iOS device.
STEP 1: Download Ever Accountable
1.1 Open the App Store and Search for “Ever Accountable.”
Note: If this is the first time you have downloaded Ever Accountable, you will see an option that says "GET". If you have downloaded the app previously, you will see the download "cloud" icon (as pictured below).
STEP 2: Sign In
2.1 Open the app once it finishes downloading, you can choose your preferred sign-in method (for this guide, we’ll select Email).
2.3 Enter your email and password, then tap SIGN IN.
STEP 3: Choose Your Mode
Select “I’ll be sharing my activity with my Accountability Partner.”
STEP 4: Set Up Screen Time Permissions
Tap Next to begin the Screen Time setup.
Important: Apple requires that your device has a Passcode or Face ID enabled in order to use Screen Time. If you don’t have one set yet, you’ll be prompted to create it.
STEP 5: Allow Screen Time Access
5.1 Tap Continue when asked to authorize Screen Time access.
5.2 Choose Allow with Face ID or Allow with Passcode.
5.3 After permissions are granted, tap Done to continue.
STEP 6: Enable the Safari Extension
You will now be taken to Safari with instructions on setting up the Ever Accountable extension. Follow the steps shown on that page, which typically include:
Go to Settings > Safari > Extensions
Select Ever Accountable
Enable the extension
Turn on:
Allow Extensions - Toggle On (To the right)
Allow in Private Browsing - Toggle On (To the right)
All Websites → Allow
Once finished, return to Safari, scroll to the bottom of the instructions page, and tap “I’ve completed these steps.”
STEP 7: Return to the App
7.1 After Safari confirms the extension is active, tap Open to go back into the Ever Accountable app.
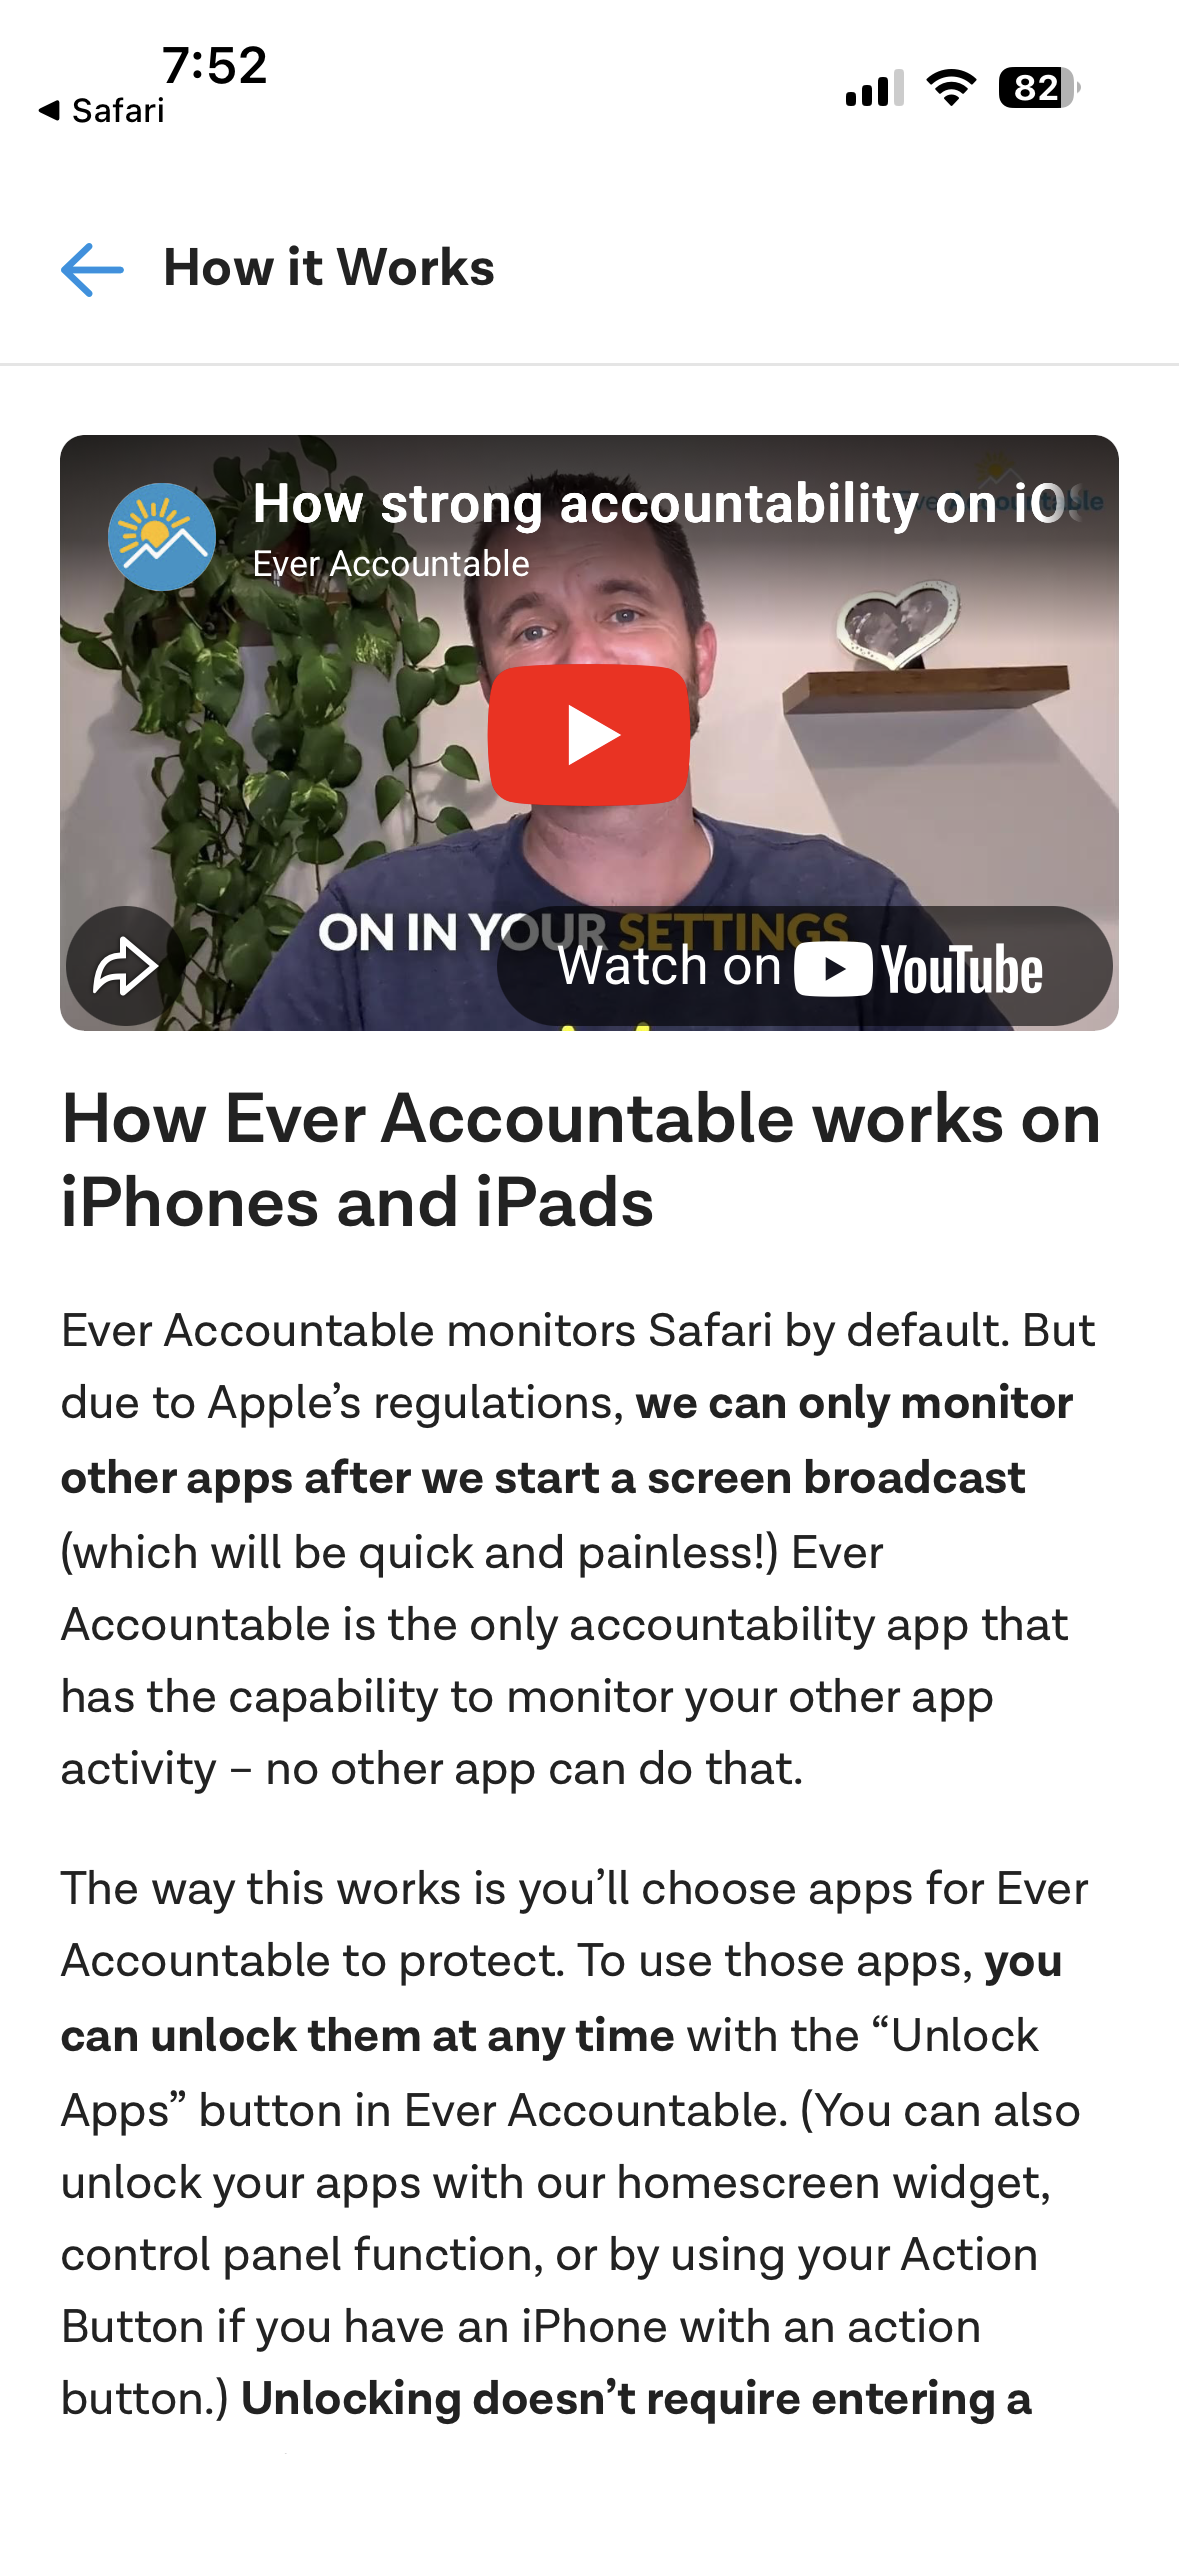
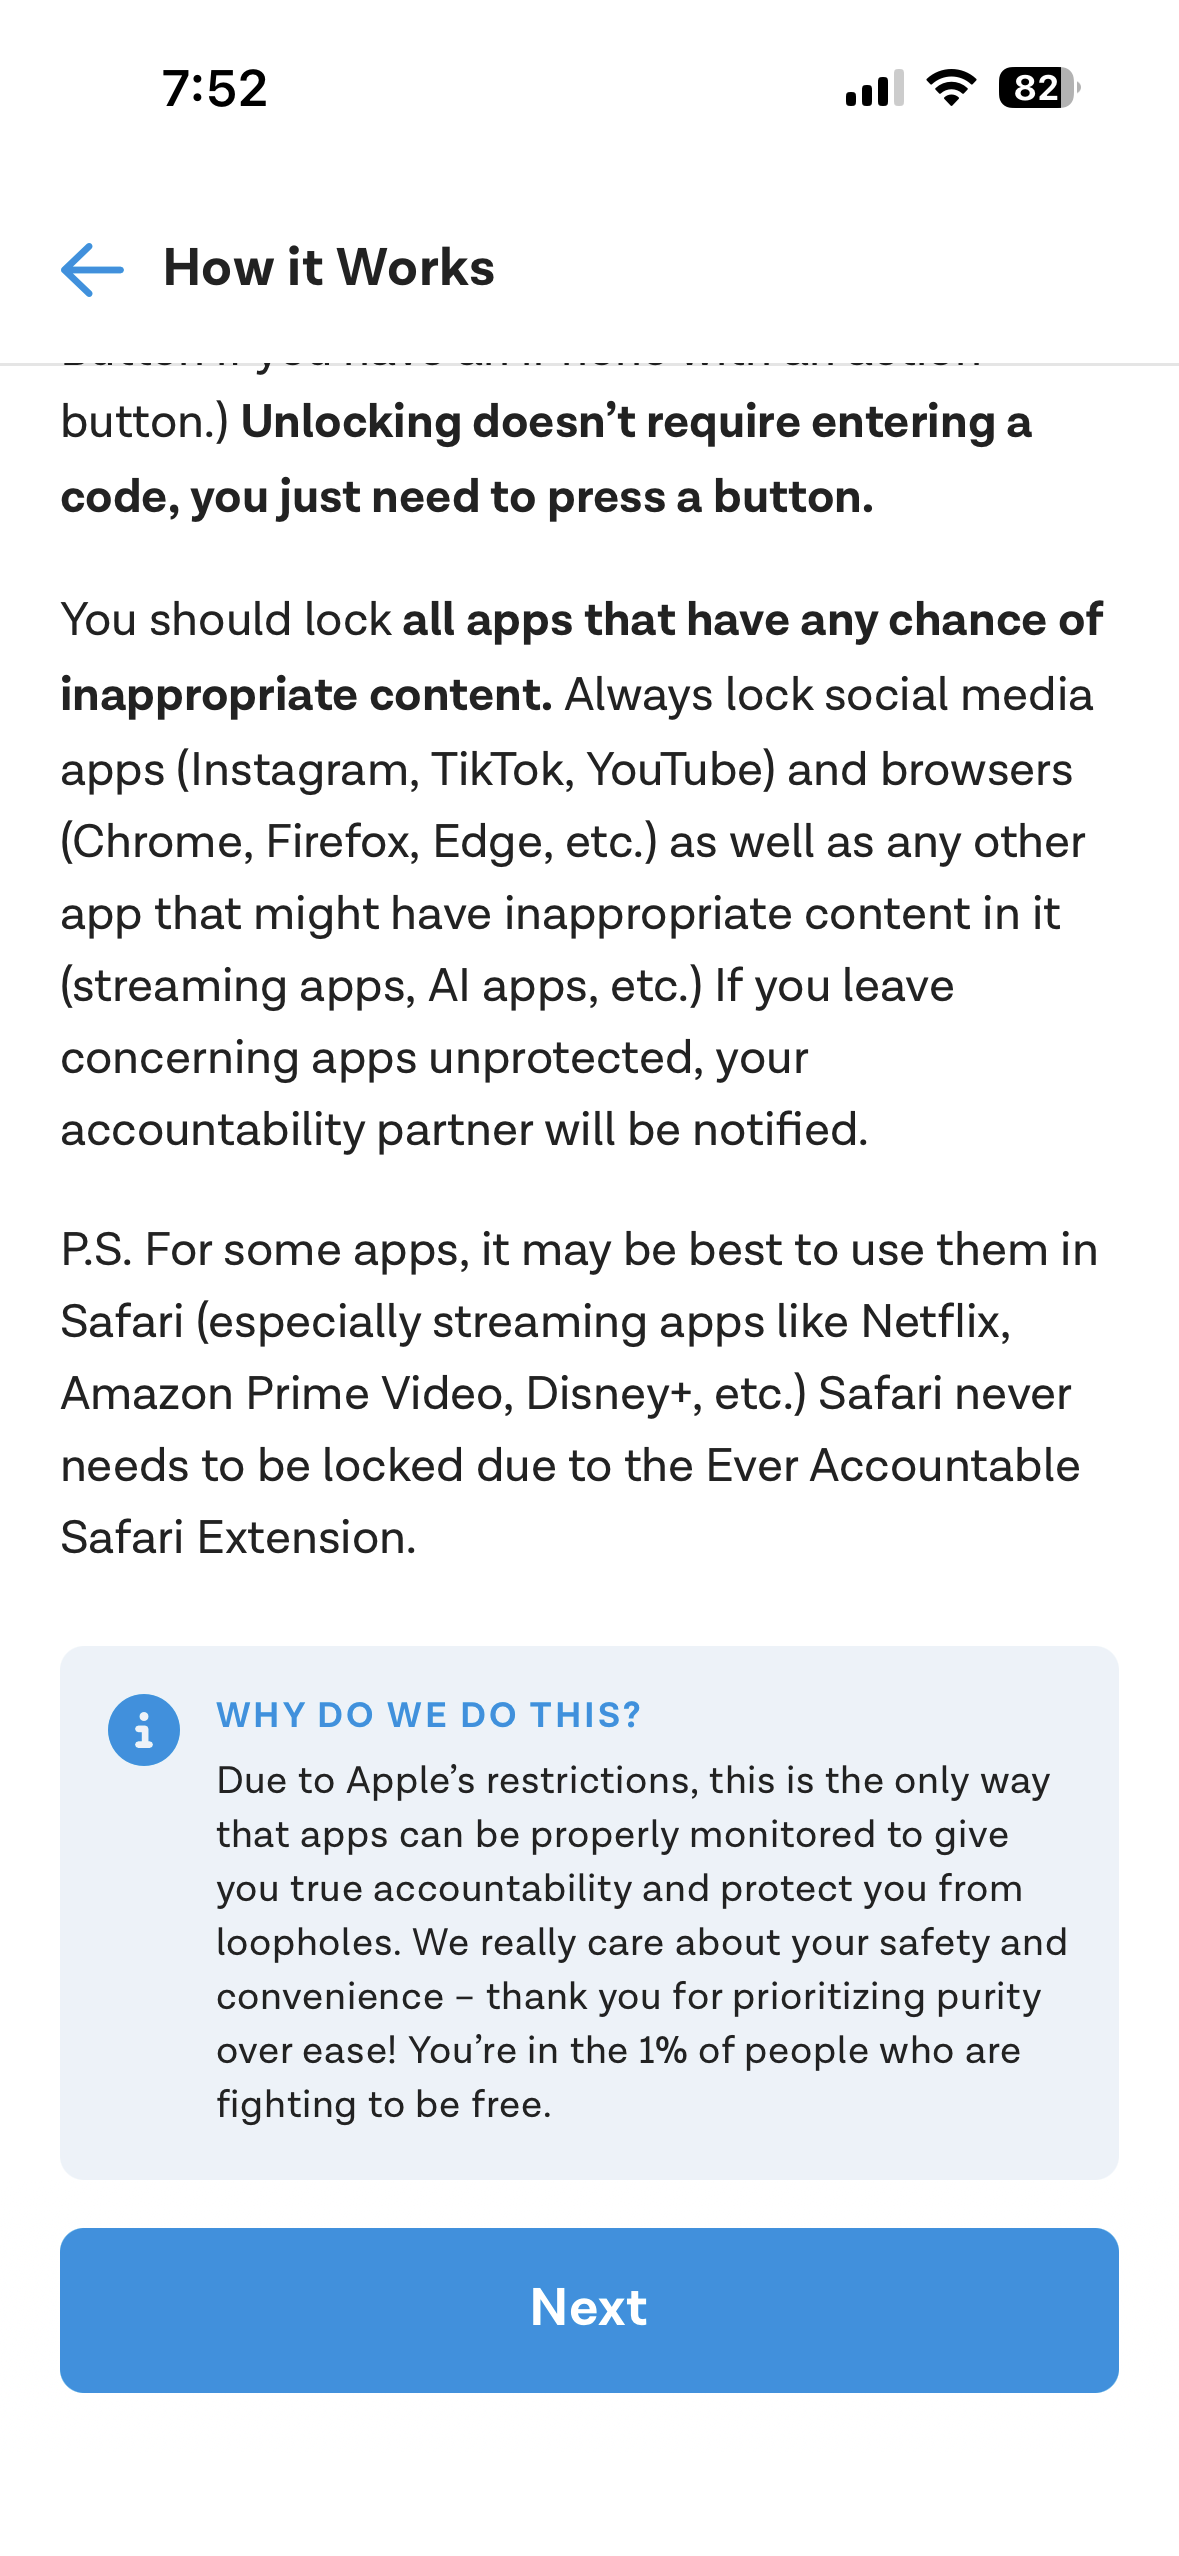
STEP 8: Read Instructions on "How Ever Accountable works on IOS" and select "Next"
STEP 9: Choose between two locking options:
You have two locking options:
Option 1: Standard App Locking (Less Friction)
This mode provides more convenience but slightly less protection/accountability.
With Standard Locking:
You choose up to ~50 higher-risk apps to monitor
Everything else functions normally
Accountability is focused only on the apps that matter most
Apps you select will require broadcasting to share activity. The rest of your phone will not constantly lock.
To enable or edit Standard App Locking:
Open Ever Accountable
Go to Settings
Select App Protection & Locking
Select Standard Locking
Tap Edit/Select Protected Apps
Choose the apps you want to monitor/share (up to 50)
Select "Save"
Option 2: Strict App Locking (Maximum Accountability)
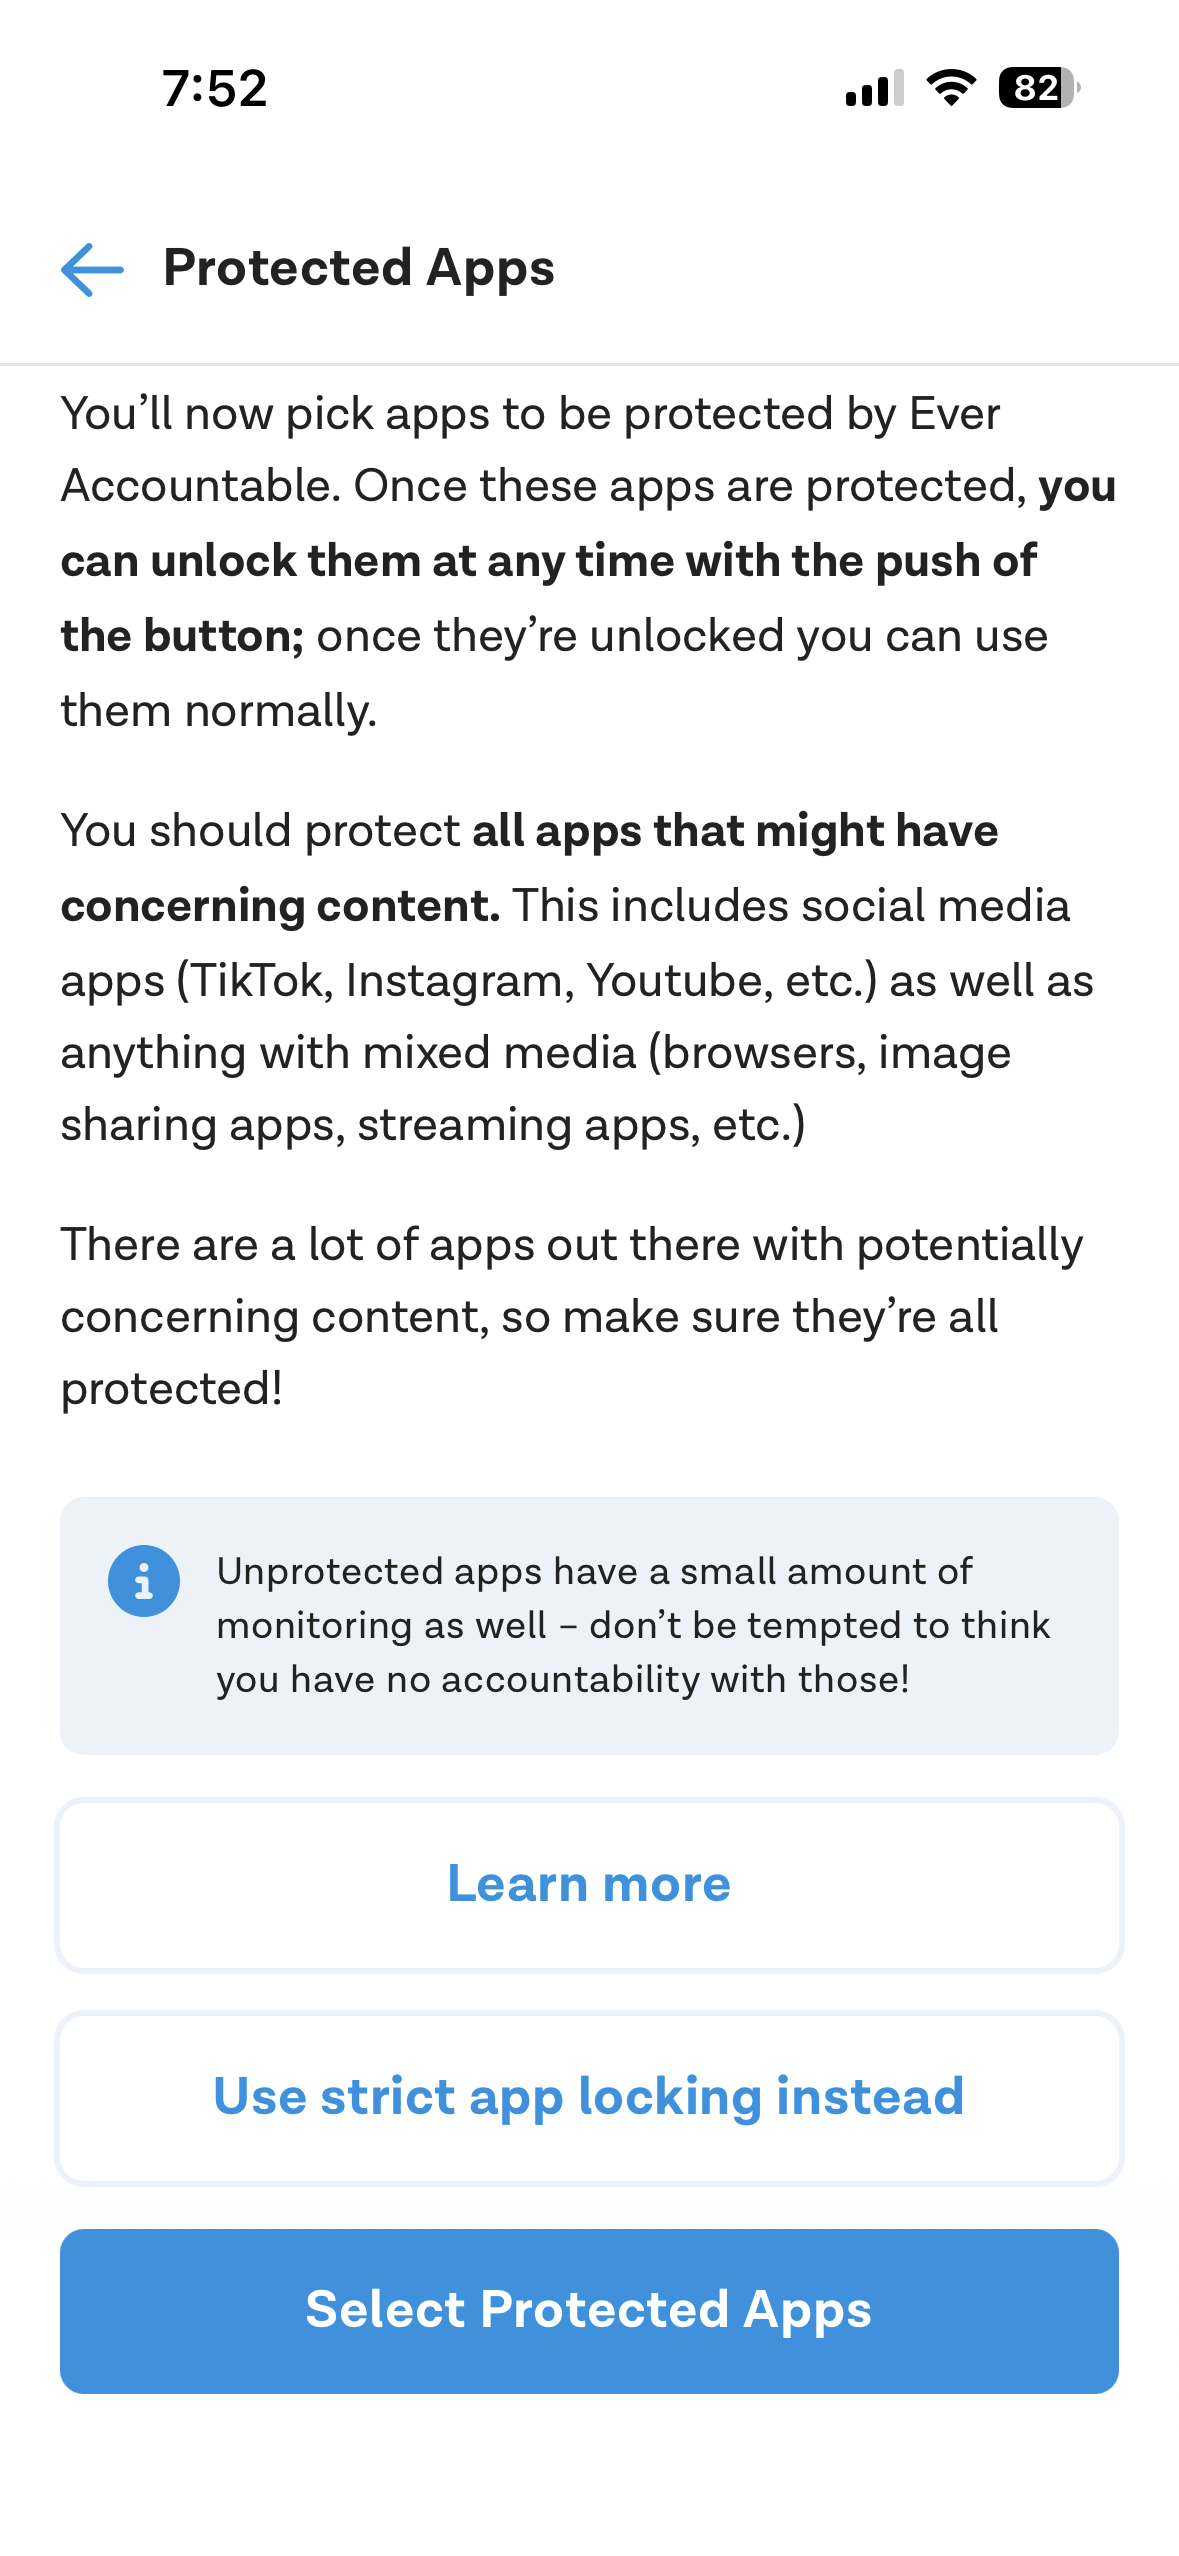

This is the more restrictive mode. (This mode is slightly less convenient, but provides better protection and accountability.
With Strict Locking:
All apps are locked by default
Apps are unlocked through the Ever Accountable app
Unlocking starts Screen Broadcasting
Apple enforces a 50-app whitelist limit (this is Apple’s restriction, not ours)
Monitoring inside apps requires broadcasting to be active
To enable or edit Strict app Locking:
Open Ever Accountable
Go to Settings
Select App Protection & Locking
Select Strict App Locking
Tap Edit App Whitelist
Choose the apps you want to whitelist (up to 50)
Select "Save"
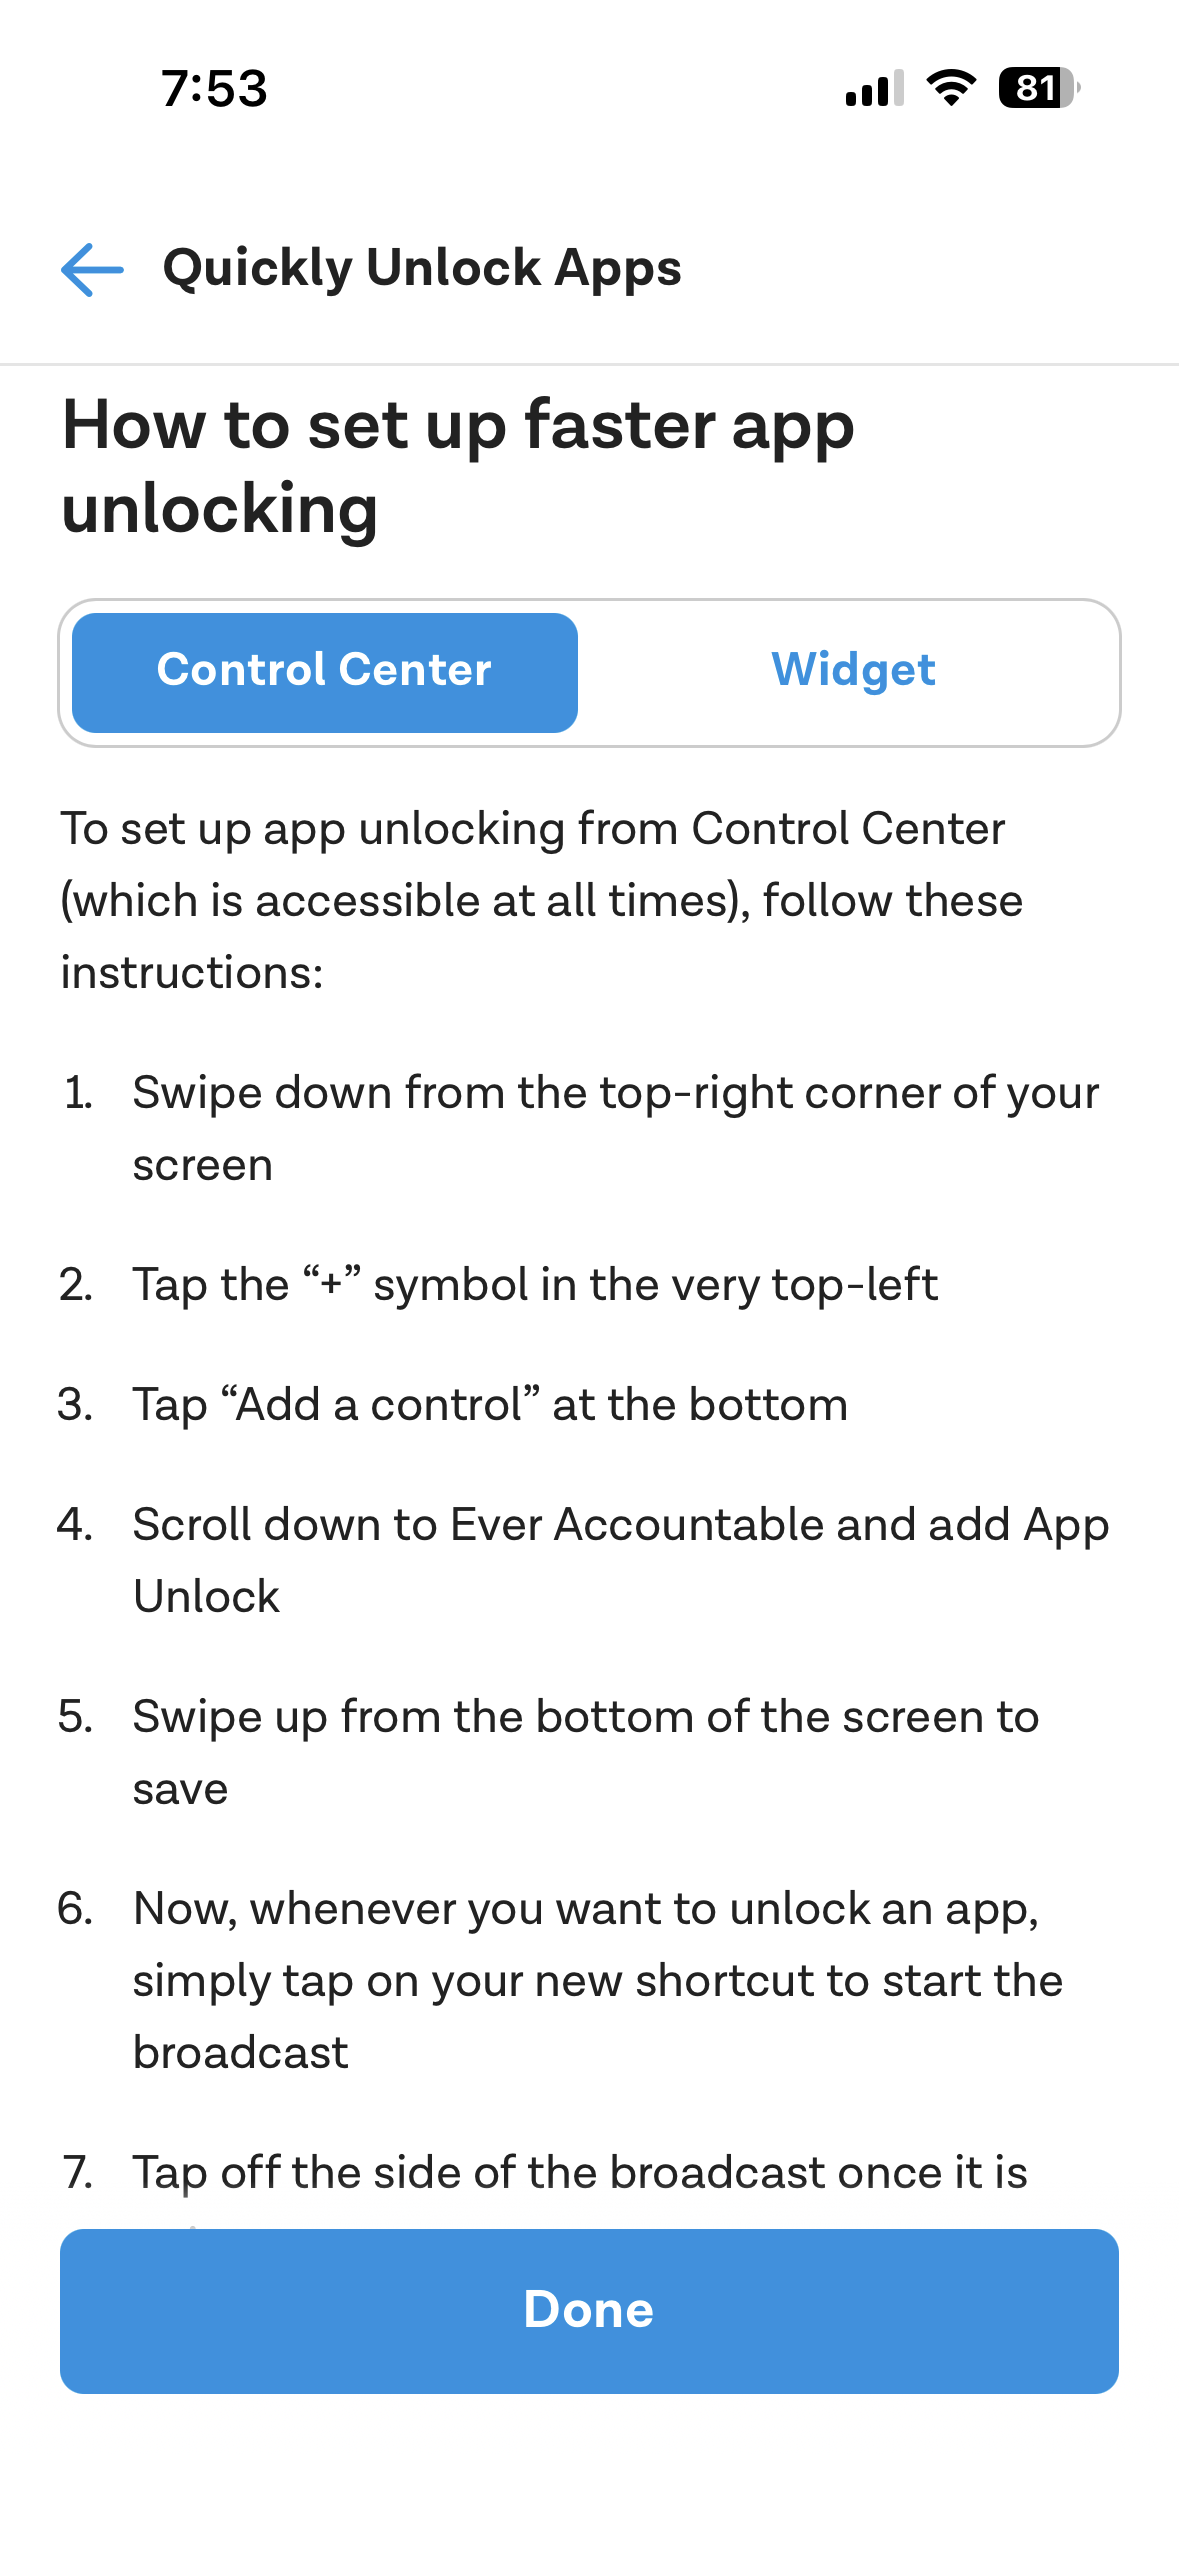
STEP 10: Optional - Setting up "Shortcuts" for faster app unlocking
Step 11 : Tap Understood on the final message.
You’re all set!
From your Dashboard, you can:
Manage app restrictions
View or update account settings
Confirm sharing is active
Use the Ever Accountable Browser (monitored, but without screenshots)
Or browse with Safari, where screenshots are enabled thanks to the extension
Comments
0 comments
Please sign in to leave a comment.